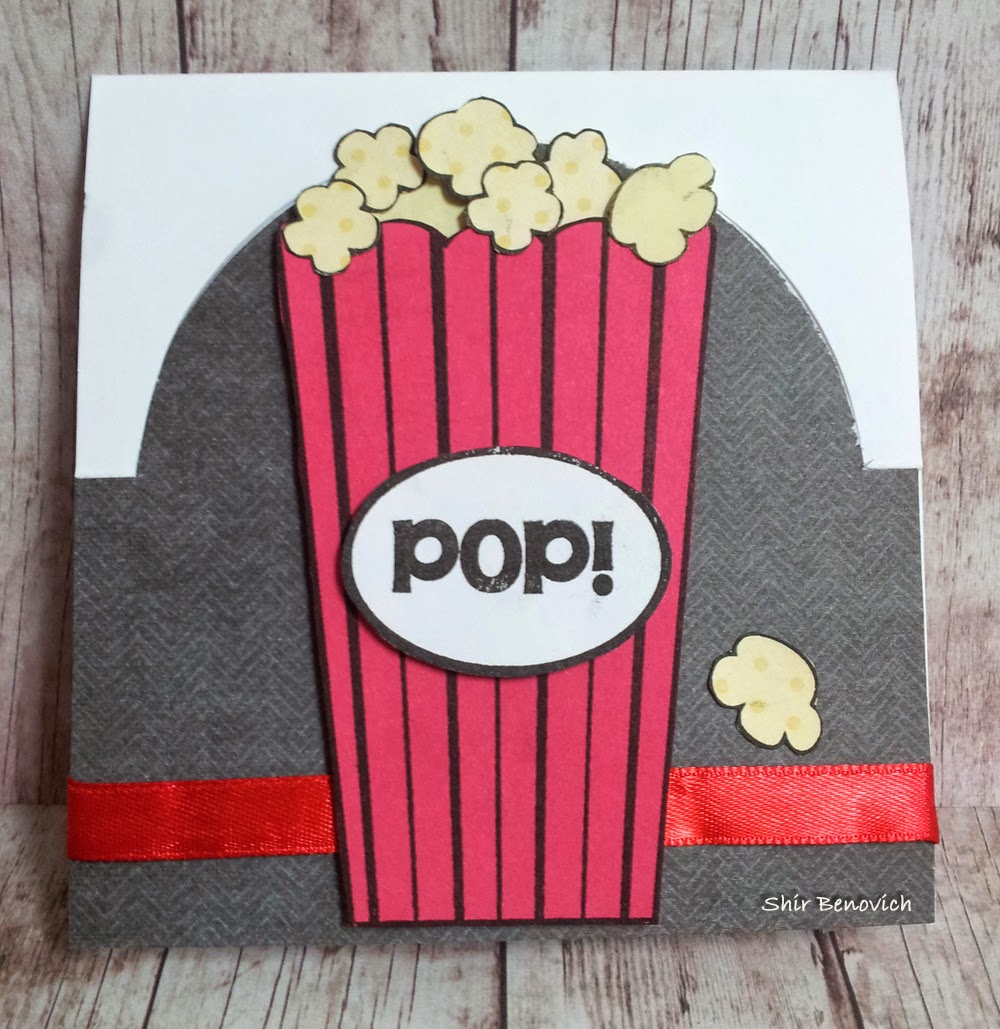
Yesterday I had a great idea what to do today (100 days of crafts), but since I don't write my ideas - surprise, surprise - I forgot :-(
So... I decided to refresh my bulk of ideas for creative birthday celebrations for girls - and created this 3 boards of inspiration...
Decorate each of them, scrap way, with paper, stamps & accessories... Hang on the wall and voila - great place to put pictures, notes & everything that inspires you!
What do you think?
(7/100)
Showing posts with label Tsukineko. Show all posts
Tuesday, February 24, 2015
Friday, February 20, 2015
Snowman card
1:03 PM
Posted by
Unknown
New card for 100 days of crafts: snowman
The plan was to create a layout, but the weather forecast said we may have snow - so I tried to help :-)
Eventually - the snow didn't come to visit me...
Cute, right?
The plan was to create a layout, but the weather forecast said we may have snow - so I tried to help :-)
Eventually - the snow didn't come to visit me...
Cute, right?
Wednesday, February 18, 2015
Masculine Notebook
11:50 AM
Posted by
Unknown
I started a new project - 100 days of crafts.
During a private notebook class, I designed a masculine notebook.
What do you think?
(1/100)
Saturday, January 17, 2015
Thank you with layered flower
8:00 AM
Posted by
Unknown
New cards, few things to say :-)
The card was made using 1 paper punch:
I cut a "window" using the punch, and stamped "Thank you"
I cut 4 shapes, pierced in the middle, and added a brad.
Then I arranged the layers to look like a flower and inked the edges.
Simple... too simple? :-/
The card was made using 1 paper punch:
I cut a "window" using the punch, and stamped "Thank you"
I cut 4 shapes, pierced in the middle, and added a brad.
Then I arranged the layers to look like a flower and inked the edges.
Simple... too simple? :-/
Sunday, January 04, 2015
Sunday, December 28, 2014
New layout: Squares
8:00 AM
Posted by
Unknown
0
comments
labels
Bella Blvd,
challenge,
Ink It Up,
layout,
Scrappy Hands,
Tsukineko,
יעל יניב,
נתנאלה
Sunday, December 14, 2014
New cards: Light
8:33 AM
Posted by
Unknown
This week's challenge @Scrappy Hands is light.
It's the first time I use this die, by Memory Box & Simon Says Stamp
The 4th try was successful, after I thought of rotating the die clockwise...
Anyway - I wanted to do something original. At first I thought of candles (Hanukkah, birthday), then I thought of the sun, and finally - the stars :)
It's the first time I use this die, by Memory Box & Simon Says Stamp
The 4th try was successful, after I thought of rotating the die clockwise...
Anyway - I wanted to do something original. At first I thought of candles (Hanukkah, birthday), then I thought of the sun, and finally - the stars :)
Thanks for looking!
Monday, December 08, 2014
3 new cards
7:38 AM
Posted by
Unknown
Yesterday evening, while watching TV with my husband, I created these 3 cards:
Aren't they adorable??
Sunday, November 30, 2014
New cards, new challenge
8:36 AM
Posted by
Unknown
2 new cards, to celebrate our challenges blog's birthday :-)
There's a great prize too!
Check it out :-)
There's a great prize too!
Check it out :-)
Sunday, August 31, 2014
3 cards: Happy new year
8:00 AM
Posted by
Unknown
This time of year I'm always busy making new year cards.
Soon we'll celebrate "Rosh Hashana" (new year of the Jewish calendar), and it's a great opportunity to give (and send) greeting cards.
This week, the challenge +Scrappy Hands is "Peace / Hello"
I created 3 cards. From left to right:
Year of peace & security, Good & sweet year, Year of happiness & health
And here they are separately:
Soon we'll celebrate "Rosh Hashana" (new year of the Jewish calendar), and it's a great opportunity to give (and send) greeting cards.
This week, the challenge +Scrappy Hands is "Peace / Hello"
I created 3 cards. From left to right:
Year of peace & security, Good & sweet year, Year of happiness & health
And here they are separately:
Sunday, July 06, 2014
New card: Keep Calm
8:00 AM
Posted by
Unknown
This week @ Scrappy Hands the challenge is to use stamps...
And you call it a challenge? I LOVE stamps!
Anyway - this is the card I created:
Thanks for visiting :-)
And you call it a challenge? I LOVE stamps!
Anyway - this is the card I created:
Friday, July 04, 2014
3 new cards
10:47 AM
Posted by
Unknown
0
comments
labels
Card,
Cuttlebug,
DCWV,
Nestabilities,
Tsukineko,
Unity,
ילדת האגדות,
יעל יניב,
נרקיס שחף,
שיר בנוביץ
Sunday, May 25, 2014
New card: Flowers & Butterflies
8:00 AM
Posted by
Unknown
The newest challenge @ Scrappy Hands is Flowers & Butterflies...
I created 3 cards for the challenge.
The first 2 are more or less the same: I used a new embossing folder, by Darice and butterfly punch. few pearls on each butterfly, and the card is ready:
And the 3rd is different. I haven't used this die & embossing folder for a really long time - now is a good time to use it... All white, with a touch of color to the flower, and same paper used for the butterflies:
Thanks for looking :-)
I created 3 cards for the challenge.
The first 2 are more or less the same: I used a new embossing folder, by Darice and butterfly punch. few pearls on each butterfly, and the card is ready:
And the 3rd is different. I haven't used this die & embossing folder for a really long time - now is a good time to use it... All white, with a touch of color to the flower, and same paper used for the butterflies:
Thanks for looking :-)
Sunday, April 27, 2014
New cards: Masking...
8:00 AM
Posted by
Unknown
Last week a new challenge was published @ Scrappy Hands: Masking technique...
I didn't take part of the first week, but I decided to do so now.
I created 2 cards, similar colors, stamps & technique.
Once of the positive & once for the negative.
First, I cut a heart on a cardstock, same size as my card base.
For the first card - I put the outside of the heart and stamped inside... When I removed the outside - I got the heart shape...
For the second card I did the opposite:
I took the heart itself and stamped outside of it.. Creating a background ...
The ladybug is popped up..
Thanks for looking :-)
I didn't take part of the first week, but I decided to do so now.
I created 2 cards, similar colors, stamps & technique.
Once of the positive & once for the negative.
First, I cut a heart on a cardstock, same size as my card base.
For the first card - I put the outside of the heart and stamped inside... When I removed the outside - I got the heart shape...
For the second card I did the opposite:
I took the heart itself and stamped outside of it.. Creating a background ...
The ladybug is popped up..
Thanks for looking :-)
Saturday, April 26, 2014
New card: With Love
3:46 PM
Posted by
Unknown
I have a problem...
I live with the problem for years.
I do everything in the last minute... or maybe second :-(
Even if I try hard and I do my best. I can't make myself deal with things before it's {almost} too late.
Anyway...
This card was made for sketch #254 @Unscripted Sketches
Thanks for looking :-)
I live with the problem for years.
I do everything in the last minute... or maybe second :-(
Even if I try hard and I do my best. I can't make myself deal with things before it's {almost} too late.
Anyway...
This card was made for sketch #254 @Unscripted Sketches
Thanks for looking :-)
Wednesday, April 16, 2014
"Standing card" tutotial
11:45 AM
Posted by
Unknown
I don't know how to call this card, but I took pictures on how I made it..
First - let's see the finished card:
When it's closed:
Open:
Side view:
And now for the tutorial:
I won't give the exact measurements, but the concept of making the card.
Start with your card base, scored half way:
Cut half circle - the side that is close to the scoring line (I used Coluzzle, but any other way to cut half a circle is OK):
This is how it should look like:
And when you "pop" the half-circle out - crease the folds (where the half circle "meets" the edges of the card:
Temporarily adhere your background paper:
Turn the card inside out and cut the half circle on the background paper as well:
Remove your background paper.
Now we have the card base and the background paper, both match and have the half circle cut:
Cut off the upper part of the circle from the background paper:
If you want to add ribbon / bakers twine, etc - now is the time to do it:
Adhere the background paper to your card base:
Decorate:
Decorate the inside about half way (this is where you should write your greetings):
Cut a small half circle above that place (~half of the height):
Now you have this. to hold the card standing:
That's it..
(And again, the finished card:)
First - let's see the finished card:
When it's closed:
Open:
Side view:
And now for the tutorial:
I won't give the exact measurements, but the concept of making the card.
Start with your card base, scored half way:
Cut half circle - the side that is close to the scoring line (I used Coluzzle, but any other way to cut half a circle is OK):
This is how it should look like:
And when you "pop" the half-circle out - crease the folds (where the half circle "meets" the edges of the card:
Temporarily adhere your background paper:
Turn the card inside out and cut the half circle on the background paper as well:
Remove your background paper.
Now we have the card base and the background paper, both match and have the half circle cut:
Cut off the upper part of the circle from the background paper:
If you want to add ribbon / bakers twine, etc - now is the time to do it:
Decorate:
Decorate the inside about half way (this is where you should write your greetings):
Cut a small half circle above that place (~half of the height):
Now you have this. to hold the card standing:
That's it..
(And again, the finished card:)
Subscribe to:
Posts (Atom)