3 new cards with The Stamps of Life dies & stamps.
How many squares can you count in each card? ;-)
Showing posts with label Stamps of Life. Show all posts
Sunday, January 04, 2015
Sunday, July 27, 2014
Fish & Tag
8:00 AM
Posted by
Unknown
Hi,
This week the challenge @ Scrappy Hands is to use a punch.
Well - not a huge challenge...
I took pictures for a tutorial to create this fish using 2 punches: circle & heart.
You can find the tutorial here
This week the challenge @ Scrappy Hands is to use a punch.
Well - not a huge challenge...
I took pictures for a tutorial to create this fish using 2 punches: circle & heart.
You can find the tutorial here
Thanks for looking :-)
Wednesday, April 16, 2014
"Standing card" tutotial
11:45 AM
Posted by
Unknown
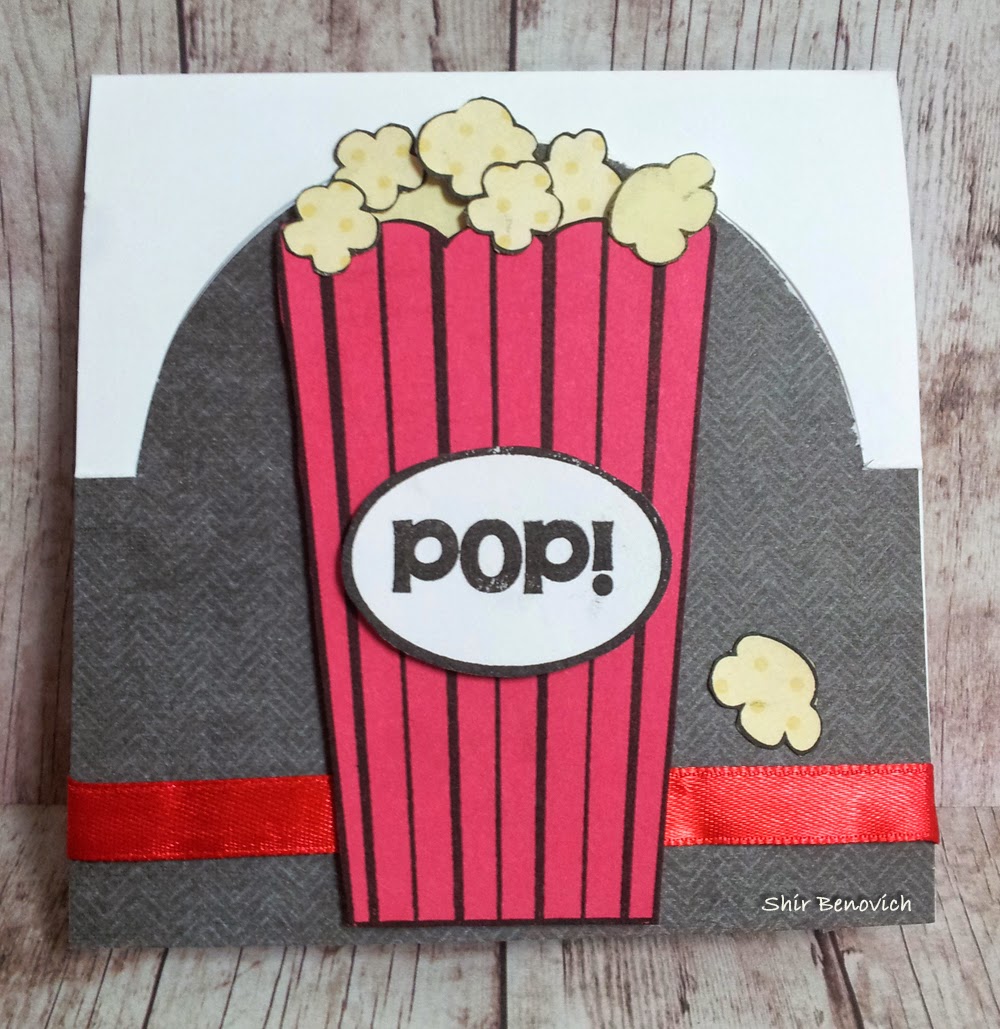
I don't know how to call this card, but I took pictures on how I made it..
First - let's see the finished card:
When it's closed:
Open:
Side view:
And now for the tutorial:
I won't give the exact measurements, but the concept of making the card.
Start with your card base, scored half way:
Cut half circle - the side that is close to the scoring line (I used Coluzzle, but any other way to cut half a circle is OK):
This is how it should look like:
And when you "pop" the half-circle out - crease the folds (where the half circle "meets" the edges of the card:
Temporarily adhere your background paper:
Turn the card inside out and cut the half circle on the background paper as well:
Remove your background paper.
Now we have the card base and the background paper, both match and have the half circle cut:
Cut off the upper part of the circle from the background paper:
If you want to add ribbon / bakers twine, etc - now is the time to do it:
Adhere the background paper to your card base:
Decorate:
Decorate the inside about half way (this is where you should write your greetings):
Cut a small half circle above that place (~half of the height):
Now you have this. to hold the card standing:
That's it..
(And again, the finished card:)
First - let's see the finished card:
When it's closed:
Open:
Side view:
And now for the tutorial:
I won't give the exact measurements, but the concept of making the card.
Start with your card base, scored half way:
Cut half circle - the side that is close to the scoring line (I used Coluzzle, but any other way to cut half a circle is OK):
This is how it should look like:
And when you "pop" the half-circle out - crease the folds (where the half circle "meets" the edges of the card:
Temporarily adhere your background paper:
Turn the card inside out and cut the half circle on the background paper as well:
Remove your background paper.
Now we have the card base and the background paper, both match and have the half circle cut:
Cut off the upper part of the circle from the background paper:
If you want to add ribbon / bakers twine, etc - now is the time to do it:
Decorate:
Decorate the inside about half way (this is where you should write your greetings):
Cut a small half circle above that place (~half of the height):
Now you have this. to hold the card standing:
That's it..
(And again, the finished card:)
Subscribe to:
Posts (Atom)